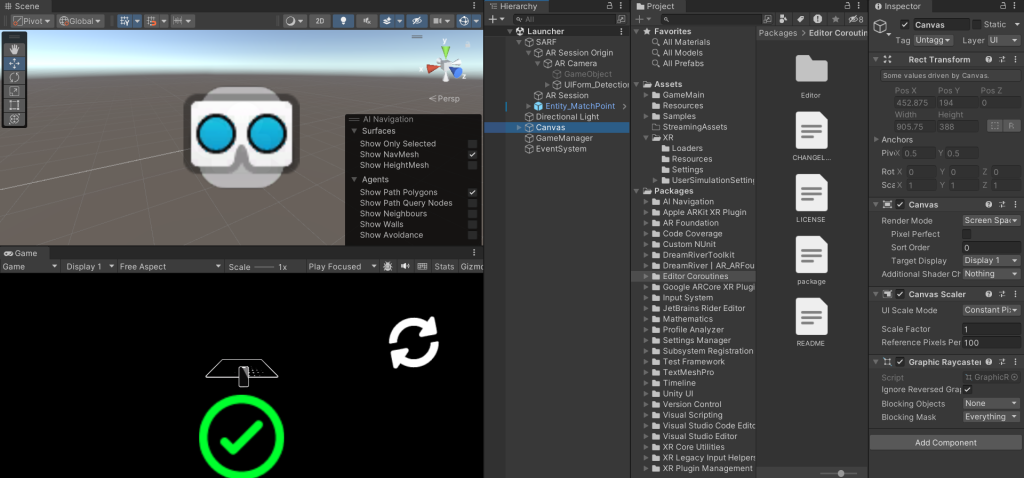
Environment Setup: I began by setting up my Unity environment specifically for iOS, ensuring the AR Foundation and ARKit XR Plugin were up to date.
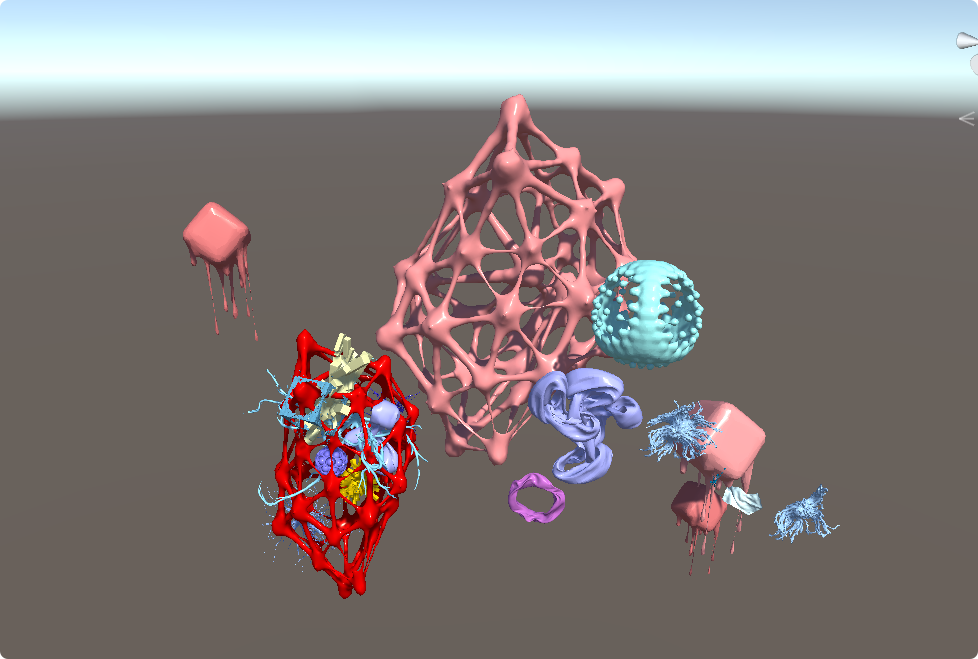
Model Import: The intricately designed life web model, originally crafted in Maya, was imported into Unity. Adjustments were made to ensure compatibility, focusing on texture resolutions and shader properties to accommodate the graphics capabilities of iOS devices.
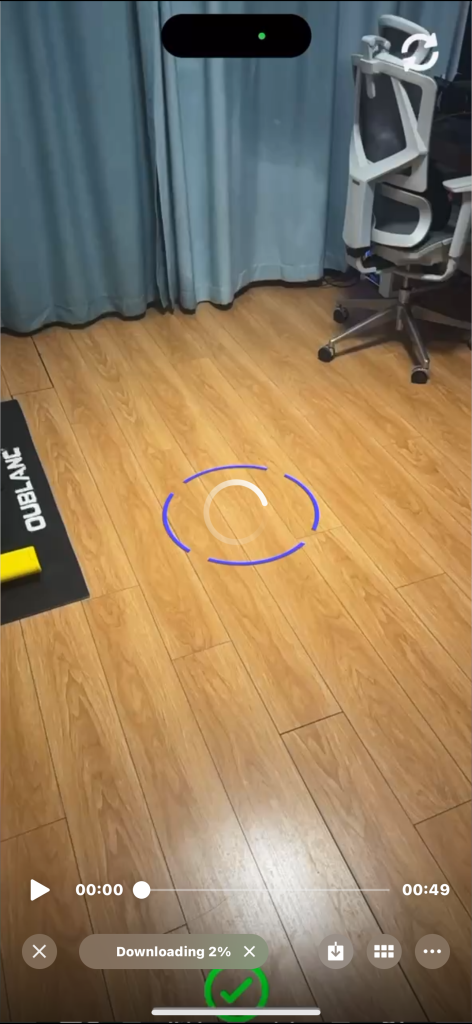
AR Session Configuration: An AR session was configured within Unity, using ARKit’s features to handle real-world surface detection. The session controls how the app detects and tracks the surfaces onto which the virtual model is placed.
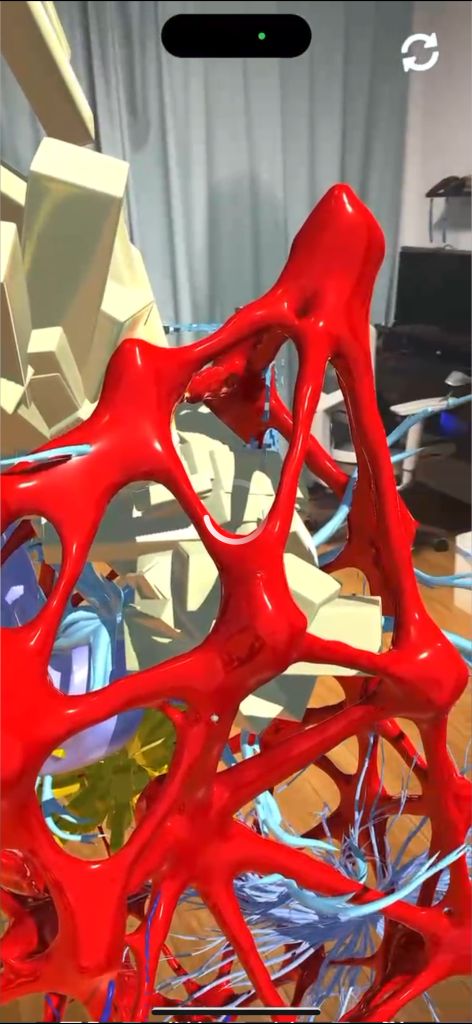
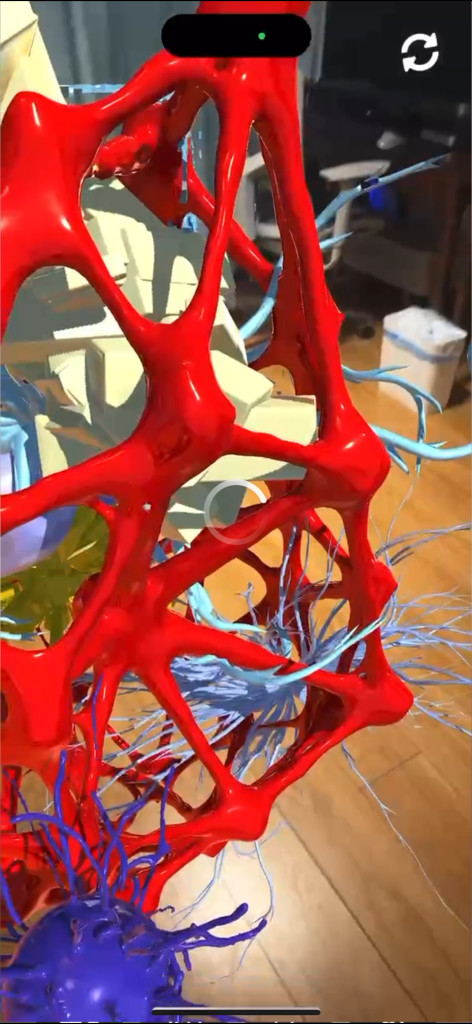
Touch Interactions: For the iOS build, touch gestures are key. I implemented intuitive touch controls to allow users to place and interact with the life web model in their environment, using Swift in Xcode to refine the gestures for a native iOS feel.
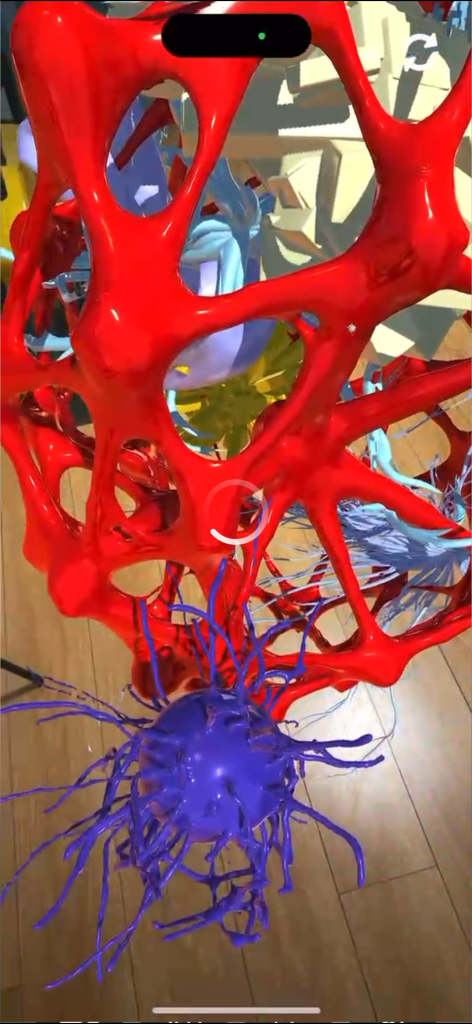
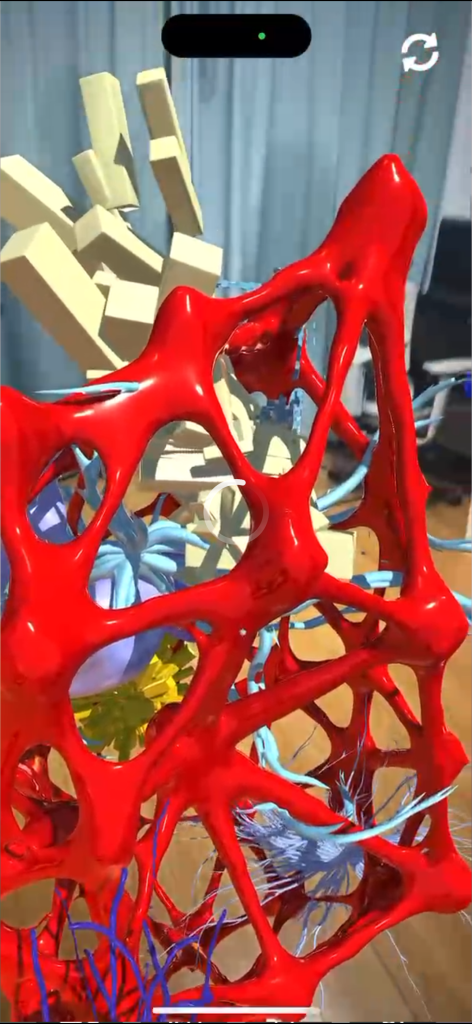
Build and Test: With everything in place, I built the project for iOS. Xcode came into play here, allowing me to compile the build, fix any arising issues, and prepare the app for testing.
Testing on Device: The final and most exciting part – testing on my iPhone. Watching the virtual life web model come to life in a physical space through the lens of AR was a rewarding moment.